 |
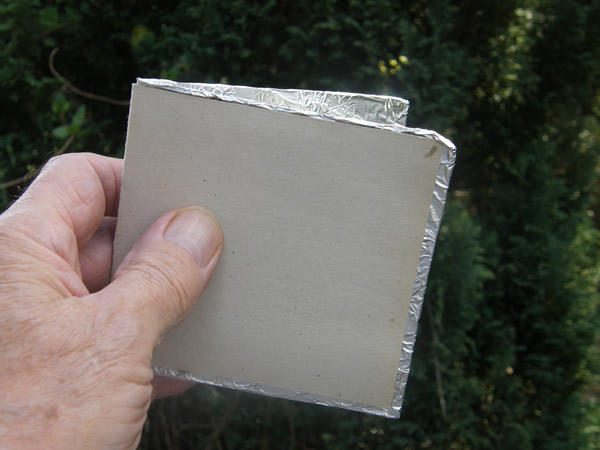
Making a handy little light reflector that slips into your pocket is simple and can be very useful for directing light onto shady subjects. |
| | |
|
You don't need many materials: a piece of card about 9 inch x 4 inch; a second piece of card (not shown) 1/4 inch smaller in length and width and some aluminum foil that is an inch or two bigger than the first card. Score the centre of the cards with a pair of scissors. This makes folding it easier. |
| | |
|

|
|
|
Scrunch up the foil and the open it out again. Fold the foil over the card, folding the corners in slightly as shown here. |
|
Folding the the corners prevents the foil from creating problems along the long side. |
|
|
|
|
|
|
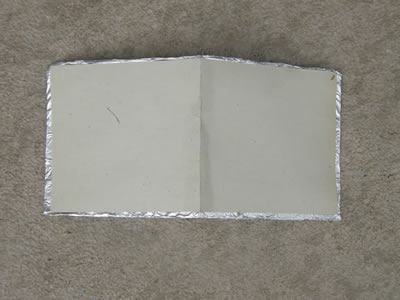
Tape the foil down and using the score mark, fold the card. |
|
The second card can be glued to cover the foil edges. |
|| |
|
|
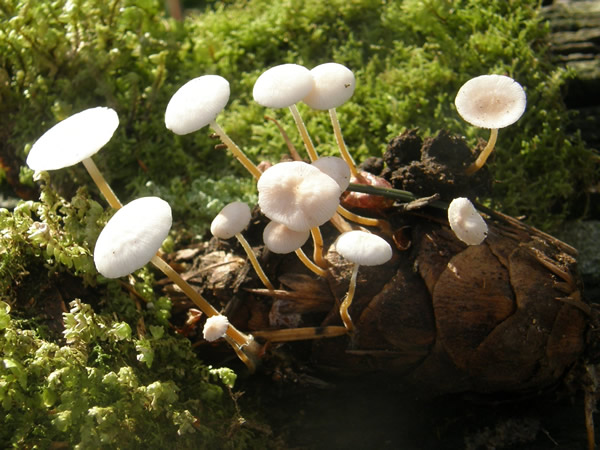 |
This photo of Fir Cone Fungi is pleasing enough, but a little extra light would help. |
| | |
|
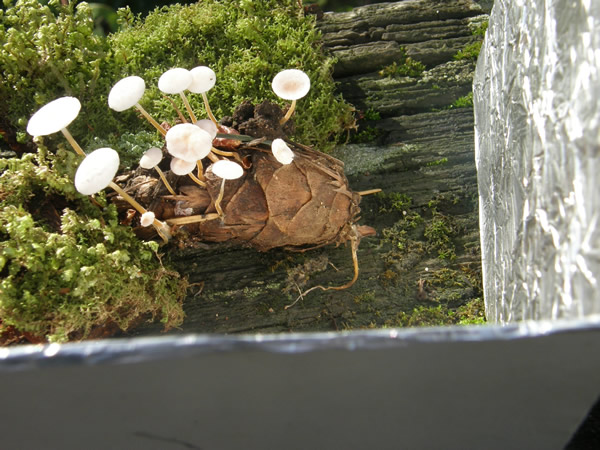 |
Position your handy pocket reflector near the subject.
You can see how the light on the cone has improved. |
| | |
|
The result is a much-improved photograph. |
| |
|
This liverwort has some shady spots.
Using a flash this close will probably result in a washed-out photograph. |
| |
|
The reflector has helped bring the photo to life. |
| |
|